School mornings are honestly one of the most chaotic parts of any parent’s day. You are making breakfast, finding missing shoes, signing permission slips, and somewhere in the middle of all of that, you also need to do your child’s hair. The last thing you want is to spend forty-five minutes on a style that falls apart by lunchtime or that you have to redo every single morning.
That is exactly where protective hairstyles come in. A good protective style does two things at once. It keeps the hair looking neat for days at a time and it actively protects the hair from the breakage and dryness that daily manipulation causes. In other words, the hair looks better and gets healthier at the same time.
We covered twenty different school hairstyles in the last post on Little Hair Book and if you missed it, 20 easy back-to-school hairstyles for kids that stay neat all day is a great companion to this post. Today though, we are focusing specifically on protective styles. The ones that last the full school week, keep the ends tucked away, and require almost no daily maintenance once they are installed.
How to Prepare the Hair Before Installing a Protective Style
So many parents install a protective style on hair that is not properly prepared and then wonder why the style does not last as long as expected or why the hair feels dry underneath when the style comes down.
Preparation is everything. The condition the hair is in when the style goes in determines the condition it will be in when the style comes out.
Start with a thorough wash day before installing any protective style. Shampoo the scalp properly, deep condition generously, and rinse with cool water. The hair should go into the protective style clean and deeply moisturized.
After washing and conditioning, apply your full moisturizing routine before styling. Leave-in conditioner on damp hair, followed by oil, followed by cream for natural and curly hair types. The moisture you seal into the hair before the style goes in is what the hair lives on during the time the style is worn.
Detangle completely before beginning any style. Braiding or twisting tangled hair locks the tangles into the style. When the style comes down, those locked-in tangles become matted sections that are significantly harder and more damaging to remove than regular tangles.
Finally, make sure the hair is fully dry before installing any style that will be worn for multiple days. Braiding wet hair and leaving it in a style for a week creates the perfect environment for mold and mildew on the scalp. Always braid dry hair or wait until freshly washed hair is completely dry before styling.
Bookmark this post: school hairstyles that help prevent hair breakage
1. Box Braids
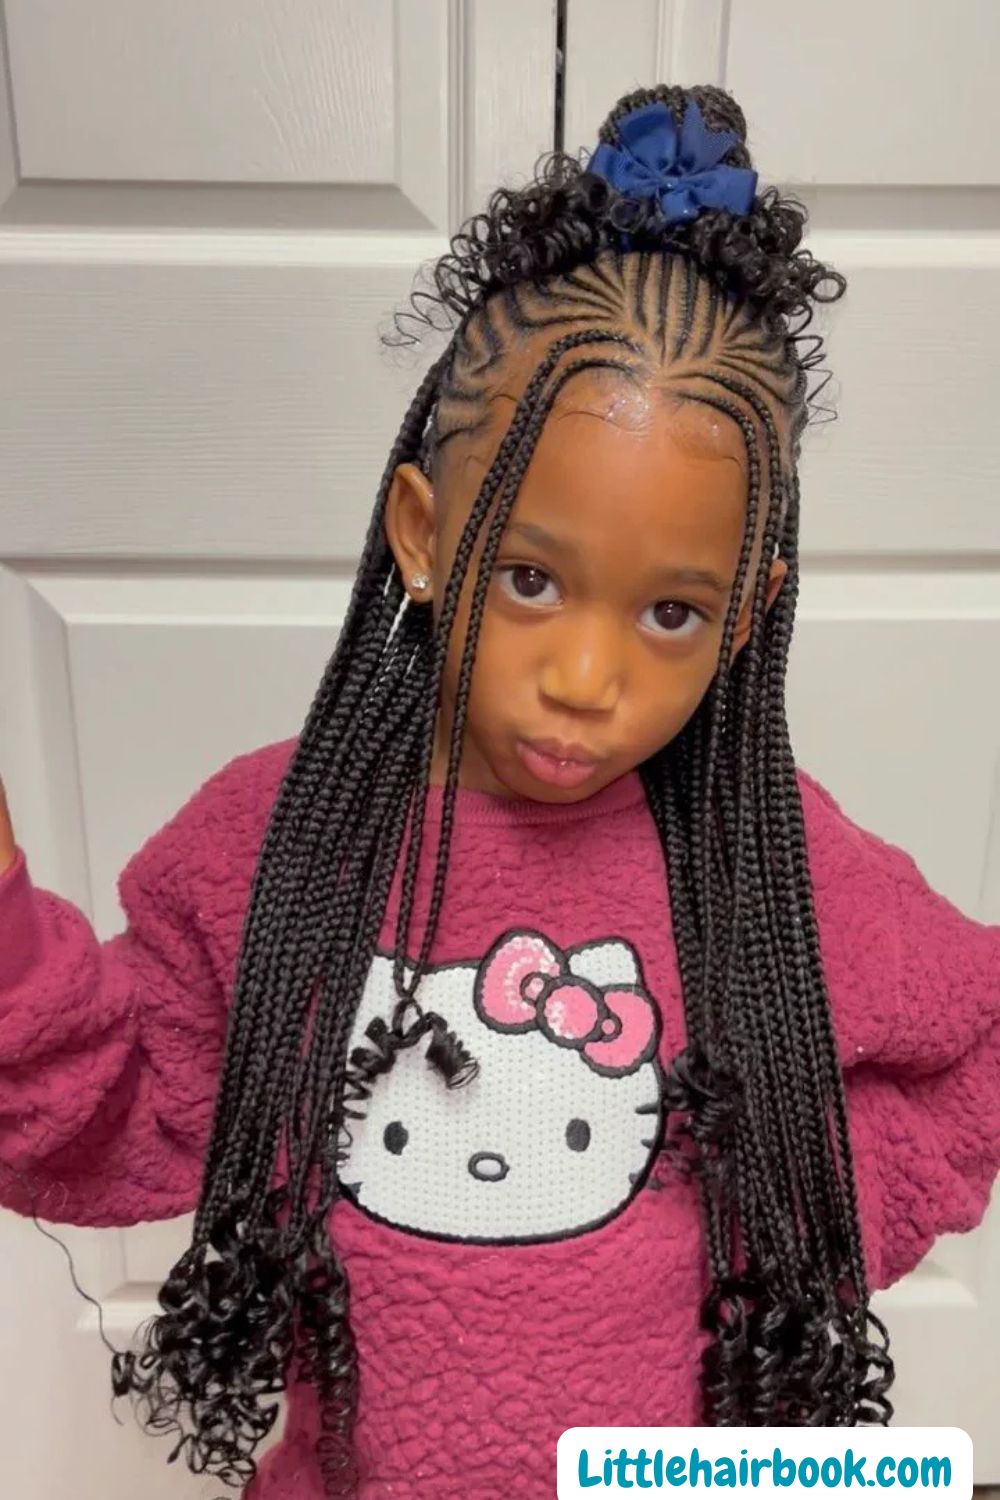
Box braids are genuinely one of the best protective styles for school-age children. They last two to four weeks, require almost no daily maintenance, and keep the ends completely protected throughout their wear.
What they look like: Individual braids with square-shaped sections at the roots, running from the scalp to the ends and hanging freely. They can be any thickness from very thin to chunky depending on preference.
Why they work for school: Once box braids are installed, the morning hair routine becomes almost nothing. A light mist of water on the scalp, a small amount of oil massaged into the parts, and smoothing the edges takes under five minutes. The braids themselves stay neat and tidy all day through every school activity.
How to maintain them through the school week: Every morning, mist the braids lightly with water and apply a small amount of oil to the scalp along each part. Keep the edges moisturized and smooth with edge control. At night, gather the braids into a loose pineapple or loose ponytail and cover with a satin bonnet or sleep on a satin pillowcase.
How long they last: Two to four weeks with proper nighttime care. After four weeks, take the style down carefully, detangle thoroughly, and deep condition before reinstalling or switching to a new style.
2. Cornrows
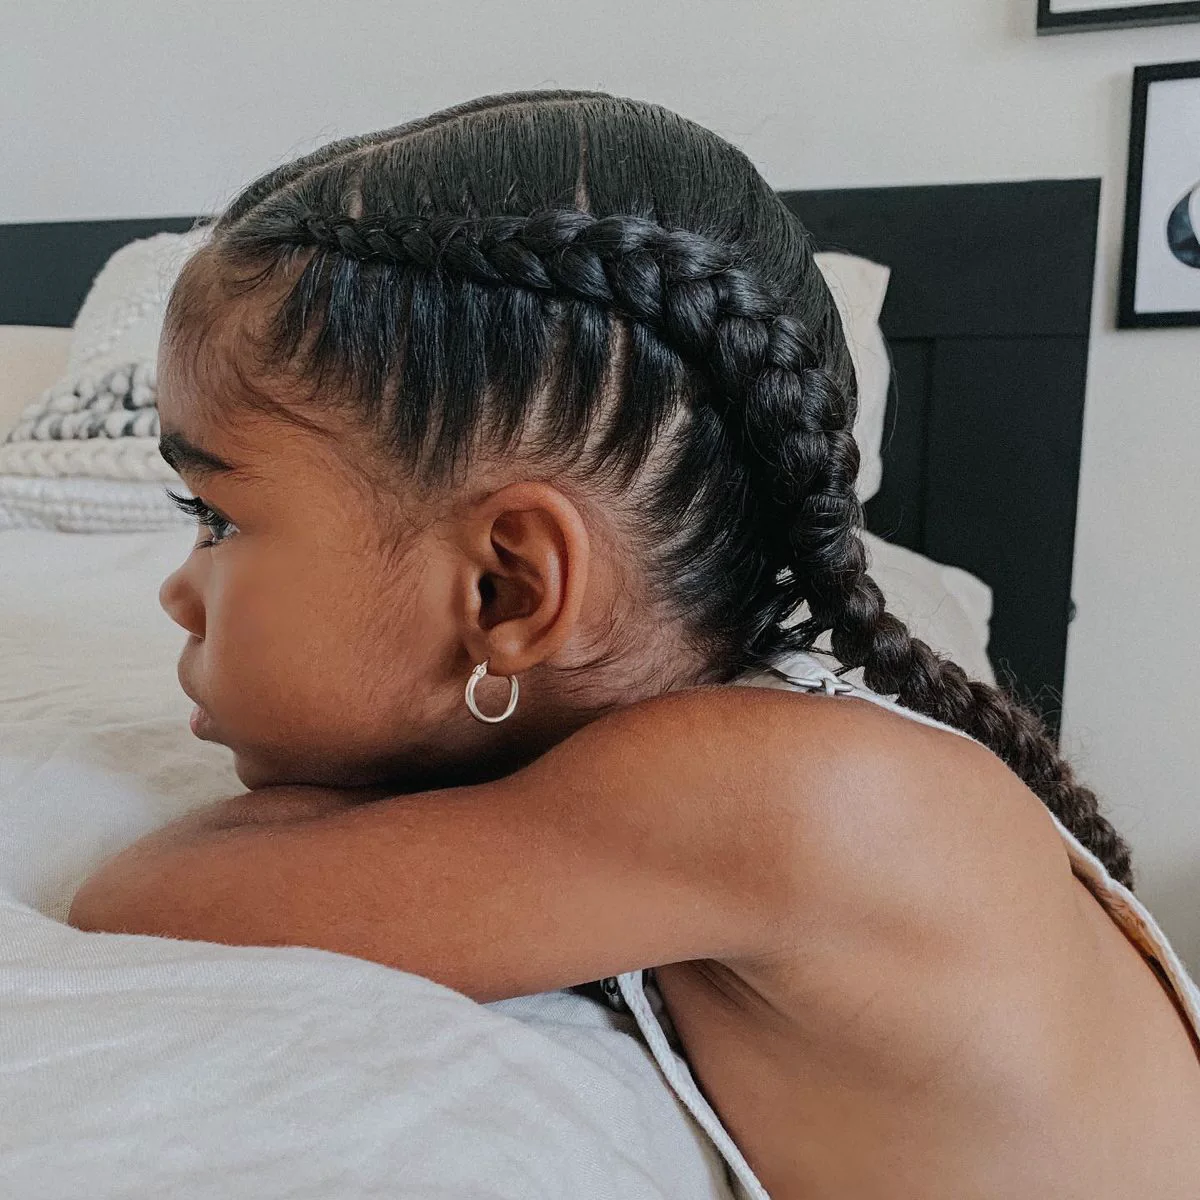
Cornrows are one of the most classic protective hairstyles for children. They remain popular because they lie flat against the scalp, stay neat during active school days, and can last a week or longer with minimal maintenance.
What they look like: Braids woven flat against the scalp in rows. They can run from front to back, side to side, or form decorative patterns.
Why they work for school: Cornrows lie flat against the head, so they are less likely to get crushed or lose their shape during the school day. They stay neat while your child sits in class, plays at recess, or rests.
They are also easy to style in different ways. You can gather them into ponytails or buns, or leave them loose.
How to Keep Cornrows Neat Through the Week
Daily maintenance for cornrows is very simple. Each morning, apply a small amount of oil to the scalp along the cornrow parts. Smooth the edges with edge control and a soft bristle brush. Mist lightly with water if the hair underneath feels dry.
At night, cover the cornrows with a satin bonnet or sleep on a satin pillowcase. This single nighttime step keeps the cornrows looking freshly done for significantly longer than sleeping on cotton.
If any cornrow starts to look frizzy along its length, apply a tiny amount of edge control or hair gel along that row and smooth it down gently with your fingers or a soft bristle brush. This refreshes the look of the cornrow without needing to redo the whole style.
For more on the daily habits that keep protective styles looking their best throughout the school week, healthy hair habits for kids on Little Hair Book covers all the maintenance habits that make protective styles work better and last longer.

3. Flat Twists
Flat twists are a gentler alternative to cornrows. They create a similar flat-against-the-scalp look but use twisting instead of braiding. This usually puts less tension on the hair and makes them easier to do at home.
What they look like: Twists lie flat against the scalp in sections. They can run from front to back or in any direction you like. Compared with cornrows, they have a softer and slightly rounder appearance.
Why they work for school: With proper nighttime care, flat twists can last five to seven days. They are gentle on the hairline and neat enough for school.
How to install them: Part the hair into sections. At the front of one section, take two small pieces of hair and twist them together. As you move backward, add small pieces of hair from the section. Continue twisting to the ends and secure with a small elastic.
Why they are great for sensitive hairlines: Flat twists usually require less tension than cornrows. This makes them a better choice for children with delicate edges or signs of traction stress. The twisting motion also helps distribute tension more evenly.

4. Two Strand Twists
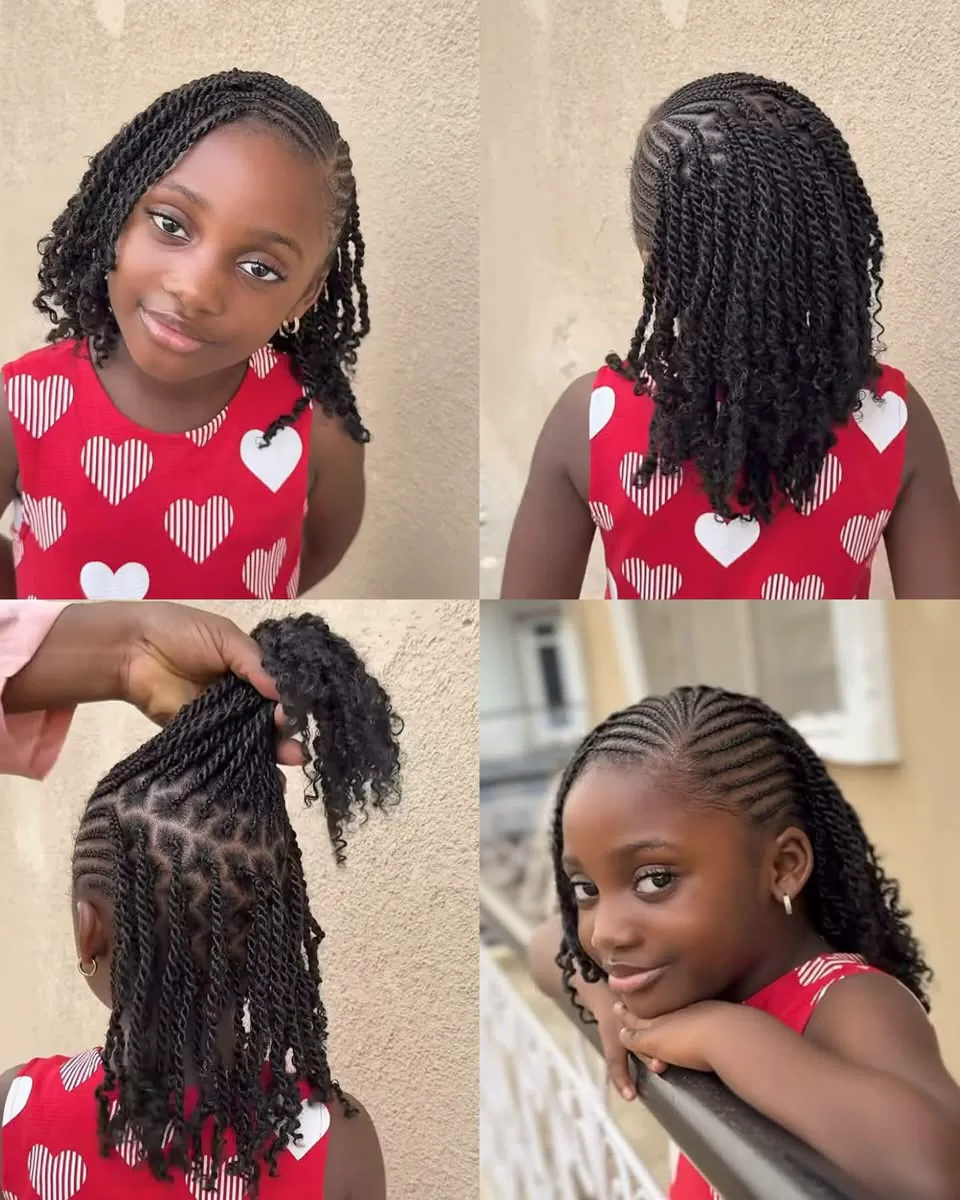
Two strand twists are different from flat twists in that they are individual twists that hang freely rather than lying flat against the scalp. They are one of the most popular protective styles for natural hair children specifically.
What they look like: Individual twists made from two strands of hair twisted around each other, hanging freely from the scalp like individual braids but with a rounder, softer appearance.
Why they work for school: Two strand twists last one to two weeks with proper care. They keep the ends tucked and protected, reduce daily manipulation significantly, and can be styled in multiple ways throughout the week. They can be worn loose, gathered into puffs, pinned up into buns, or released after a week into a beautiful twist out.
How to install them: Section the hair into as many twists as desired. The more twists, the smaller and longer-lasting the style. Moisturize each section, divide it into two equal pieces, and twist them around each other from root to tip. Secure the end with a small elastic or by dipping in warm water if using natural hair.
How to maintain them: Each morning, mist lightly with water and apply a small amount of oil to the scalp. At night, gather into a loose pineapple and cover with a satin bonnet. Moisturize the scalp along the parts every two to three days to prevent itching and dryness.
For more on caring for natural hair in protective styles specifically to maximize growth and health, how to grow children’s hair naturally on Little Hair Book explains exactly how protective styling contributes to length retention and healthy growth over time.
5. Senegalese Twists
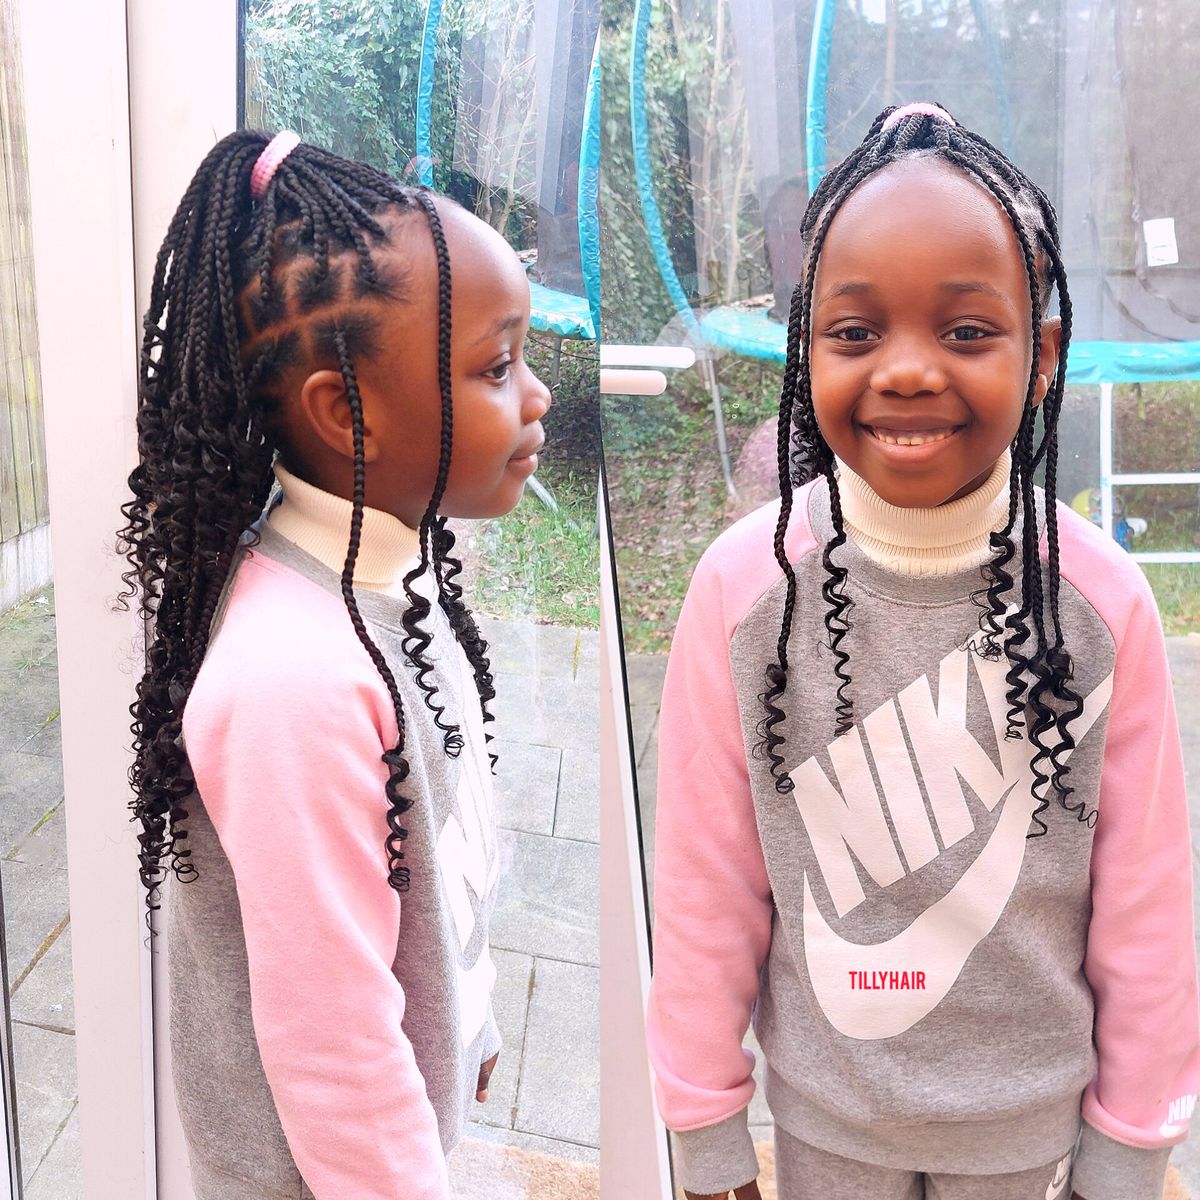
Senegalese twists are similar to box braids in how they are installed and maintained but they use a twisting motion rather than a braiding motion and are made with added synthetic hair for length and thickness.
What they look like: Smooth, rope-like twists that hang freely. They are typically longer and thicker than natural two strand twists and have a very polished, defined appearance.
Why they work for school: Senegalese twists last two to four weeks and require the same minimal daily maintenance as box braids. They look very neat and polished for school while keeping the natural hair completely protected underneath. The added length means the twists hang neatly rather than sticking out, which keeps the overall look tidy throughout the school day.
Things to watch: Make sure the weight of the added hair is not too heavy for your child’s natural hair. Too much weight on a young child’s delicate hair can cause tension-related breakage at the root over time. Use lightweight synthetic hair and keep the twists at a manageable thickness.

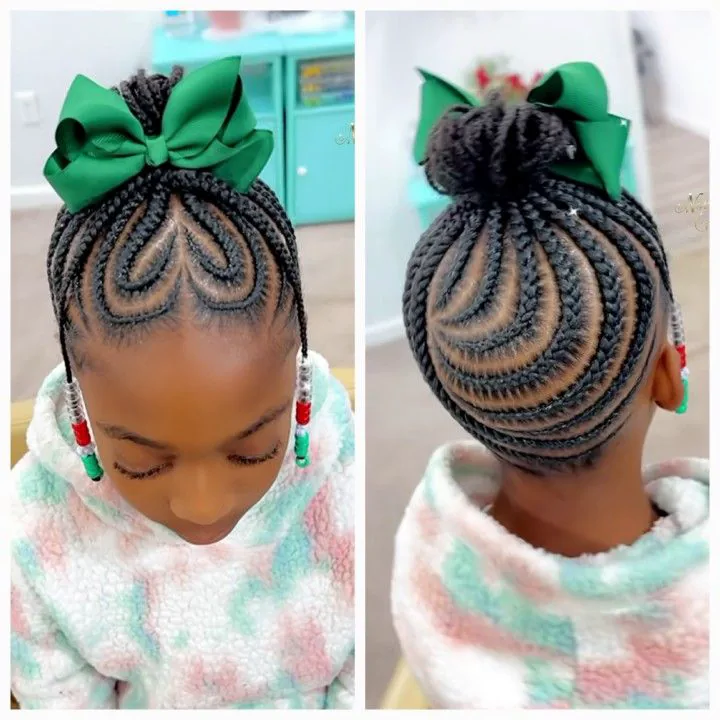
6. Braided Updos
A braided updo takes protective styling one step further by tucking the ends of the braids away as well as the ends of the natural hair. When both are tucked, the protection is even more comprehensive.
What it looks like: Cornrows or flat twists that feed into an updo at the back or top of the head. The ends of the braids are tucked and pinned into the updo rather than hanging freely.
Why it works for school: A braided updo is one of the most protective school styles available because every single end is tucked away. Nothing is exposed to friction or dry air. The style also looks very neat and elegant for school events, picture days, or presentations.
How to install it: Start with cornrows or flat twists running toward the back of the head. At the nape or crown, gather the ends of the braids and pin them into a bun or roll. Secure with bobby pins and a decorative scrunchie or hair accessory.
How long it lasts: A well-installed braided updo lasts the full school week and sometimes longer. Daily maintenance is simply smoothing the edges and misting the scalp lightly.
7. Crochet Braids
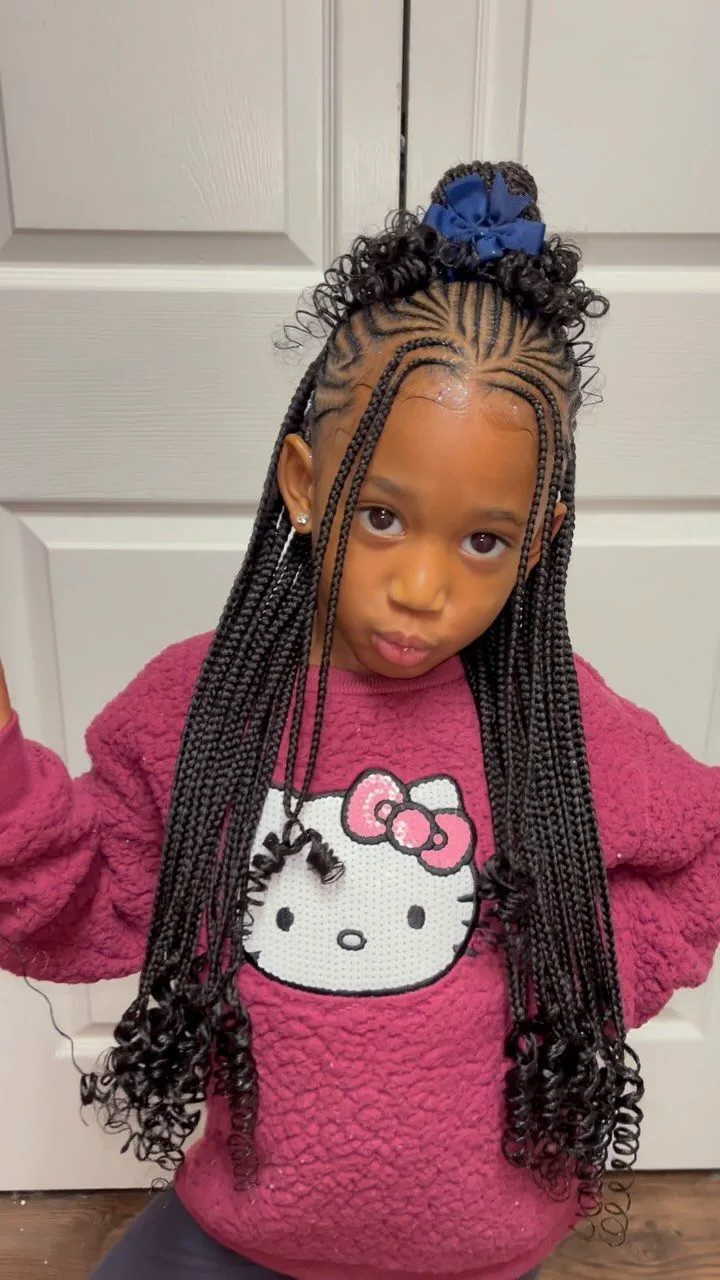
Crochet braids are an efficient way to achieve a full protective style quickly. Rather than braiding each section individually, the hair is first cornrowed flat against the scalp and then pre-made hair is looped through the cornrows using a crochet needle.
What they look like: Depending on the type of hair used, crochet braids can look like box braids, twists, loose curls, or even faux locs. The variety is enormous.
Why they work for school: Crochet braids install faster than box braids because the braiding is done in bulk rather than section by section. They last two to four weeks and keep the natural hair completely protected under the cornrow base. For parents who find individual box braids too time-consuming, crochet braids are a practical and equally protective alternative.
Important consideration: Make sure the cornrow base is not too tight. The protective benefit of crochet braids depends entirely on the cornrow foundation underneath. Tight cornrows negate the protective benefit by causing traction damage at the roots.
For guidance on choosing the right products to keep the scalp moisturized and healthy under crochet braids and other longer-wearing protective styles, best hair oils for kids on Little Hair Book covers the oils that work best for scalp care during protective style wear.

8. Bantu Knots for School
Bantu knots are not just a styling tool. When worn as a school style, they are genuinely protective and comfortable for children through a full school day.
What they look like: Small coiled knots distributed evenly across the head. Each knot is a section of hair that has been twisted tightly and coiled around its own base.
Why they work for school: Bantu knots keep all the hair completely contained and the ends are tucked inside each knot. They are comfortable to sleep in, do not get crushed against chair backs, and look neat and intentional throughout the day. Additionally, after two to three days in knots, releasing them reveals a beautiful twist out that serves as a completely different style for the rest of the week.
How to install them: Section the hair into equal squares or circles. Moisturize each section generously. Twist each section tightly from root to tip. Coil the twisted section around its own base and tuck the end underneath. No elastic is needed if the twist is tight enough.

9. Feed-In Braids
Feed-in braids are a modern take on traditional cornrows that create a more natural-looking and tension-free result at the hairline.
What they look like: Cornrows that start very thin at the hairline and gradually get thicker as more hair is added in. The result is a braid that appears to grow naturally from the scalp rather than starting with a thick, heavy braid right at the root.
Why they work for school: Feed-in braids are significantly gentler on the hairline than traditional cornrows because the tension at the root starts very light and builds gradually. This makes them one of the best options for children whose edges are delicate or prone to traction stress. They last the full school week and look very neat and polished throughout.
How they differ from traditional cornrows: In traditional cornrows, the same amount of hair is used from the very beginning of the braid. In feed-in braids, you start with a tiny amount of hair at the hairline and gradually add more as you move backward. This gradual addition is what creates the lighter tension at the root and the more natural appearance.
For more on how to build an entire school hair routine around protective styling including the right products and nighttime care, how to make your child’s school hairstyle last longer on Little Hair Book gives you all the tips for extending the life of any protective style through the school week and beyond.
10. Loc Extensions for Older Children
For older school-age children, loc extensions or faux locs offer one of the longest-lasting and most protective school styles available.
What they look like: Thick, rope-like extensions that mimic the appearance of natural dreadlocks. They hang freely and can be styled into updos, ponytails, and buns for variety.
Why they work for school: Faux locs last four to six weeks with proper care. They keep the natural hair completely protected underneath and require almost no daily maintenance once installed. For older children who want a style that requires minimal morning effort while still looking polished for school, faux locs are one of the best options available.
Important considerations: Faux locs are heavier than most other protective styles. Make sure the weight is manageable for your child and that the installation is not too tight at the root. Lightweight faux loc hair and loose installation prevent the tension damage that heavy styles can cause over time.

Keeping Any Protective Style Fresh Through the School Week
Regardless of which protective style you choose, a few consistent habits keep it looking freshly done from Monday through Friday.
Moisturize the scalp every two to three days through the parts of the style. A light oil applied with a dropper bottle and massaged in gently with fingertip pads keeps the scalp nourished and prevents the itching that makes children want to scratch and disturb the style.
Cover the style with a satin bonnet every single night. This one step extends the life of any protective style more than any other maintenance habit. The satin prevents the friction that causes frizz along the braids or twists and keeps the style looking neat for significantly longer.
Keep the edges moisturized and smooth every morning. The edges are the most visible part of any protective style and keeping them neat makes the whole style look well-maintained even when the rest of the style is starting to show a few days of wear.
For specific guidance on the best low-maintenance protective styles that work for every hair type and texture coming through the school week, low-maintenance school hairstyles for every hair type on Little Hair Book covers all the options across every hair type in one place.